goovi robot vacuum manual
Welcome to the GooVi Robot Vacuum Manual! This guide provides essential information to help you understand and utilize your device effectively‚ ensuring optimal cleaning performance.
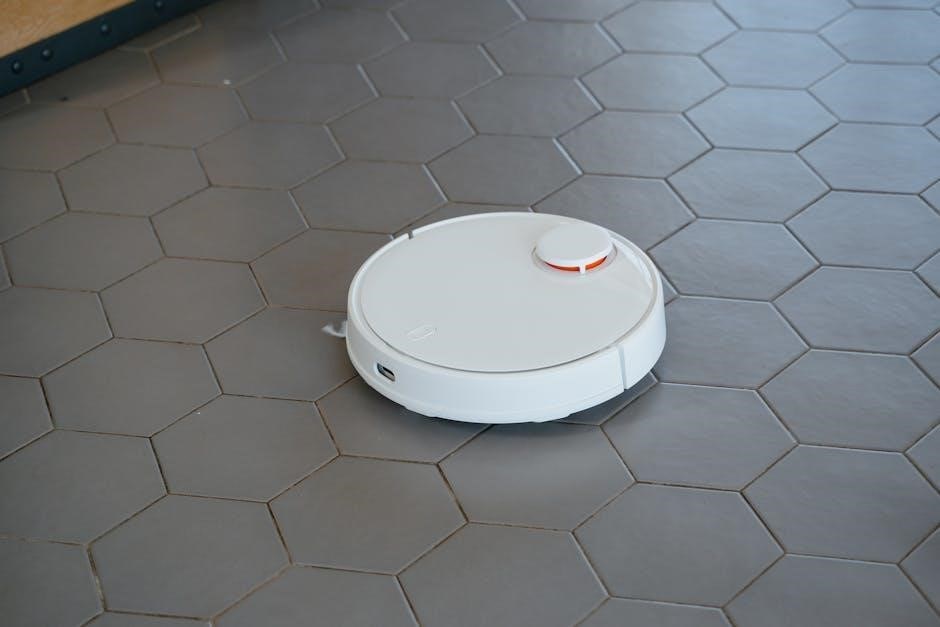
1.1 Overview of the GooVi Robot Vacuum
The GooVi Robot Vacuum is an innovative‚ compact cleaning device designed to simplify your cleaning routine. With its sleek‚ slim design‚ it effortlessly navigates through various spaces‚ including hardwood‚ carpets‚ and tile floors. Equipped with advanced navigation technology‚ it maps out your home to ensure thorough and efficient cleaning. The vacuum features adjustable suction power‚ adapting to different surfaces for optimal performance. Its quiet operation and long-lasting battery make it ideal for daily use. Additionally‚ it supports smart features like app control and voice commands‚ offering convenience and flexibility. Perfect for modern homes‚ the GooVi Robot Vacuum combines functionality and innovation for a cleaner living space.
1.2 Importance of Reading the Manual
Reading the GooVi Robot Vacuum Manual is crucial for understanding its features‚ operation‚ and maintenance. It provides essential safety precautions‚ usage guidelines‚ and troubleshooting tips to ensure optimal performance. By following the manual‚ you can avoid potential damage to the device or your property. It also helps you maximize the vacuum’s efficiency and customize its settings according to your needs. The manual includes detailed instructions for setup‚ maintenance‚ and resolving common issues‚ ensuring a smooth user experience. Additionally‚ it outlines warranty terms and conditions‚ helping you understand your rights and support options. Take the time to read it thoroughly for the best results.
Unboxing and Initial Setup
Welcome to the unboxing and initial setup section of your GooVi Robot Vacuum. This chapter guides you through unpacking and preparing your device for first use.
2.1 What’s Included in the Box
Your GooVi Robot Vacuum box contains the following items:
- GooVi Robot Vacuum unit
- Charging dock and power adapter
- Remote control with batteries
- Side brushes (additional set)
- HEPA filter
- Cleaning tool
- Boundary strips
- Quick start guide
Ensure all items are present before proceeding with setup.
2.2 Step-by-Step Unboxing Instructions
Unboxing your GooVi Robot Vacuum is straightforward:
- Carefully open the box and remove the robot vacuum.
- Take out the charging dock‚ power adapter‚ and remote control.
- Extract the side brushes‚ HEPA filter‚ and cleaning tool.
- Locate the boundary strips and quick start guide.
- Inspect all items for damage and ensure completeness.
Place the robot on a flat surface and proceed to charge it before first use.
2.3 Initial Charging Requirements
To ensure optimal performance‚ follow these charging steps:
- Connect the charging dock to the power adapter and plug it into a nearby outlet.
- Place the robot vacuum on the charging dock‚ aligning the charging pins.
- Allow the device to charge for at least 4-6 hours before first use.
- The LED indicator will turn green when fully charged.
Always use the provided adapter to avoid damage. A full charge ensures the robot operates at maximum capacity during its first cleaning cycle.
2.4 Downloading and Installing the GooVi App
To enhance your GooVi Robot Vacuum experience‚ download and install the GooVi App:
- Open the App Store (iOS) or Google Play Store (Android).
- Search for “GooVi Robot Vacuum” and select the app.
- Click “Install” and wait for the download to complete.
- Launch the app and follow the in-app instructions to connect your robot vacuum.
- Ensure your device is connected to a stable Wi-Fi network during setup.
The app allows you to control‚ schedule‚ and monitor your robot vacuum‚ ensuring a seamless cleaning experience.

Key Features of the GooVi Robot Vacuum
The GooVi Robot Vacuum boasts advanced navigation‚ powerful suction‚ and voice control‚ offering a comprehensive cleaning solution with smart home integration and customizable scheduling options.
3.1 Navigation and Mapping Technology
The GooVi Robot Vacuum utilizes advanced navigation and mapping technology to efficiently explore and clean your space. Equipped with precision sensors and SLAM (Simultaneous Localization and Mapping) technology‚ it creates detailed maps of your home‚ ensuring thorough coverage. The robot dynamically adjusts its path to avoid obstacles and optimizes cleaning routes for maximum efficiency. Additionally‚ memory capabilities allow it to store multiple maps‚ adapting seamlessly to different spaces or multi-level homes. This intelligent system ensures consistent and reliable cleaning performance‚ making it ideal for complex layouts and varying floor plans.
3.2 Cleaning Modes and Suction Power
The GooVi Robot Vacuum offers multiple cleaning modes to suit different needs: Quiet mode for low noise‚ Turbo mode for deeper cleaning‚ and Max mode for intense suction power. With adjustable suction power‚ you can customize cleaning based on surface types‚ from gentle hardwood floors to thick carpets. The vacuum automatically adapts suction strength to detect and tackle tough spots. Using the remote or app‚ you can switch modes and adjust power levels effortlessly. This versatility ensures efficient cleaning across various environments‚ providing a tailored experience for your home’s unique demands.
3.4 Voice Control and Smart Home Integration
The GooVi Robot Vacuum supports voice control through Amazon Alexa and Google Assistant‚ enabling hands-free operation. Seamlessly integrate it with your smart home system for enhanced convenience. Use voice commands to start‚ stop‚ or schedule cleanings. Additionally‚ the GooVi app allows synchronization with other smart devices‚ creating a unified home automation experience. This feature ensures effortless control and compatibility with your existing smart ecosystem‚ making it easy to manage your cleaning routine alongside other connected devices.
3.5 Scheduled Cleaning and Customization Options
The GooVi Robot Vacuum offers advanced scheduling and customization features to tailor your cleaning experience. Set specific cleaning times using the GooVi app‚ ensuring your space stays clean without manual intervention. Customize suction power‚ cleaning modes‚ and even create custom cleaning paths to suit your home’s layout. Additionally‚ you can adjust cleaning schedules to accommodate different days of the week or one-time cleanings. These features allow you to personalize your cleaning routine‚ maximizing efficiency and convenience while integrating seamlessly with your smart home ecosystem for a truly automated experience.

Operating the GooVi Robot Vacuum
Learn how to efficiently operate your GooVi Robot Vacuum‚ including starting cycles‚ using controls‚ and managing cleaning modes for a seamless and effective cleaning experience.
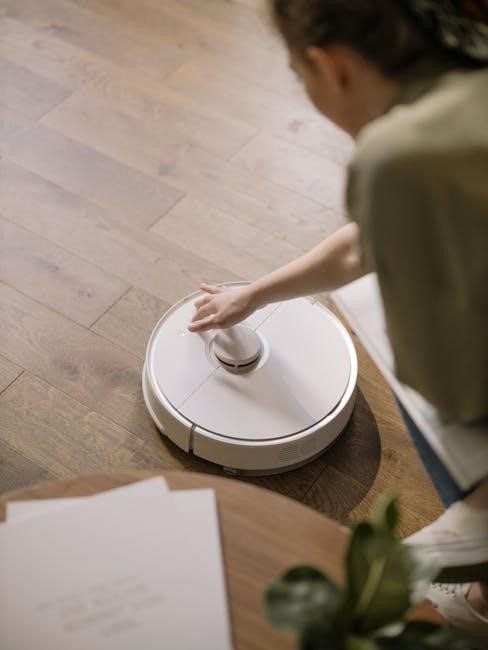
4.1 Starting Your First Cleaning Cycle
Welcome to your GooVi Robot Vacuum! To begin‚ place the robot on a flat surface‚ ensure it’s fully charged‚ and remove any obstacles. Open the GooVi app‚ select your device‚ and choose a cleaning mode. Press the “Start” button to initiate the cycle. The robot will navigate and clean independently. After completion‚ it will return to its docking station. For optimal performance‚ ensure the area is clear‚ the dustbin is empty‚ and sensors are clean. Monitor the process to familiarize yourself with its operation. Let the GooVi handle the rest for a spotless home.
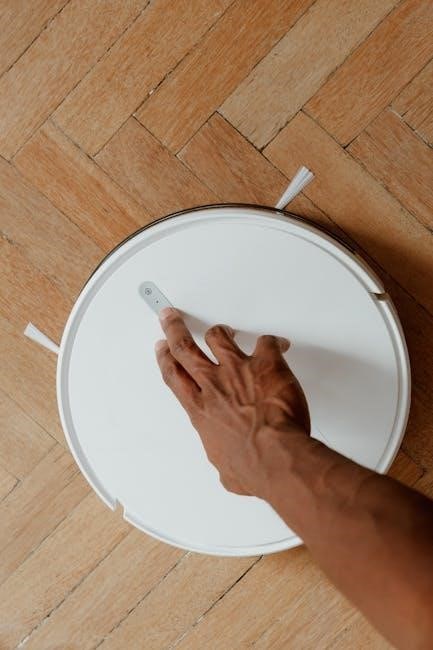
4.2 Using the Remote Control
The remote control offers a convenient way to operate your GooVi Robot Vacuum. Press the power button to turn it on or off. Use the directional arrows to manually guide the robot. The “Clean” button starts or pauses the cleaning cycle‚ while the “Spot” button focuses on a specific area. Adjust suction power or cleaning modes using the dedicated buttons. Schedule cleanings by setting the timer. The remote provides easy control without needing the app. Ensure the remote has batteries and is within range for reliable operation. Familiarize yourself with the buttons to enjoy seamless manual control of your GooVi Robot Vacuum.
4.3 Setting Up Cleaning Schedules
To maximize efficiency‚ the GooVi Robot Vacuum allows you to set up cleaning schedules. Open the GooVi App and navigate to the scheduling section. Choose the desired cleaning time and select the days of the week for the schedule to repeat. You can set multiple sessions daily or opt for a one-time cleaning. Ensure the robot is fully charged and positioned near the charging station before the scheduled start time. Scheduling enables hands-free maintenance of your space‚ letting the GooVi handle cleaning consistently. This feature is ideal for busy users seeking a hassle-free cleaning routine.
4.4 Manual vs. Automated Cleaning Modes
The GooVi Robot Vacuum offers two primary cleaning modes: Manual and Automated. In Manual mode‚ users can control the robot’s movements directly using the remote control or the GooVi App‚ allowing for precise cleaning of specific areas. Automated mode enables the robot to operate independently‚ following pre-set schedules or navigating freely to clean open spaces. Manual mode is ideal for quick cleanups or targeting stubborn spots‚ while Automated mode provides convenience for routine maintenance. This dual functionality ensures flexibility‚ adapting to your cleaning needs and preferences seamlessly.

Customizing Your Cleaning Experience
Tailor your cleaning experience by adjusting suction power‚ setting boundaries‚ and customizing paths. Use the GooVi App to personalize settings and optimize cleaning efficiency for your space.
5.1 Adjusting Suction Power for Different Surfaces
Adjust the GooVi Robot Vacuum’s suction power to suit various surfaces. For hardwood or tile‚ use the Quiet mode to minimize noise. Switch to Standard mode for carpets and rugs‚ and Turbo mode for deep cleaning in high-traffic or pet areas. Use the GooVi App or remote control to easily toggle between modes. Adjusting suction power ensures efficient cleaning while preserving battery life and reducing noise; Regularly check surface types and modify settings accordingly for optimal performance. This feature allows you to customize cleaning based on your home’s specific needs‚ ensuring a thorough clean every time.
5.2 Setting Boundary Limits for Cleaning Areas
To customize cleaning areas‚ use boundary strips or digital barriers. Place magnetic strips on carpets or rugs to block access to specific zones. For precise control‚ use the GooVi App to set virtual boundaries‚ restricting the vacuum from entering certain rooms or areas. This feature is ideal for protecting sensitive spaces‚ like pet zones or delicate flooring. By setting boundaries‚ you ensure the vacuum cleans efficiently without crossing into restricted areas‚ enhancing overall performance and convenience. This customization allows for tailored cleaning paths‚ ensuring your GooVi Robot Vacuum operates exactly as you desire‚ every time.
5.3 Customizing Cleaning Paths and Patterns
Customize cleaning paths and patterns to suit your space using the GooVi App. Choose from predefined cleaning modes like spiral‚ zig-zag‚ or spot cleaning. For advanced control‚ create custom maps to direct the vacuum to specific areas. Use voice commands or the app to prioritize certain zones or avoid others. Additionally‚ you can set the vacuum to clean around furniture or focus on high-traffic areas. This feature ensures efficient and tailored cleaning‚ allowing you to adapt the robot’s path to your home’s unique layout. Regularly updating your settings via the app helps maintain optimal cleaning performance and personalization.
5.4 Updating Settings via the GooVi App
The GooVi App allows you to easily update and customize your robot vacuum’s settings. Access the app to adjust suction power‚ cleaning modes‚ and schedules. You can also update cleaning maps‚ set boundary limits‚ and enable voice control. Regularly updating your settings ensures the vacuum adapts to your changing needs. Use the app to toggle features like carpet boost or quiet mode. Updates are synchronized in real-time‚ ensuring your robot operates with the latest preferences. This feature provides flexibility and convenience‚ letting you tailor cleaning sessions to your lifestyle and home environment effortlessly.

Maintenance and Troubleshooting
Welcome to the Maintenance and Troubleshooting section of the GooVi Robot Vacuum Manual. Regular maintenance ensures optimal performance and extends the device’s lifespan. This section provides tips and solutions for common issues‚ helping you keep your vacuum running smoothly and efficiently.
6.1 Regular Maintenance Tasks
Regular maintenance is crucial for ensuring your GooVi Robot Vacuum operates efficiently. Start by cleaning the brushes and wheels weekly to remove tangled hair or debris. Check and update the software regularly to benefit from the latest features and improvements. Always ensure the vacuum is properly charged and stored in a cool‚ dry place. Additionally‚ inspect the vacuum’s sensors and wipe them clean with a soft cloth to maintain accurate navigation. By following these simple steps‚ you can extend the lifespan of your device and keep it performing at its best consistently.
6.2 Cleaning the Brush and Sensors
Cleaning the brush and sensors is essential for maintaining your GooVi Robot Vacuum’s performance. Remove and wash the brush regularly to eliminate tangled hair and debris. Use the provided cleaning tool or a soft-bristled brush to gently sweep away dust. For the sensors‚ turn off the device and wipe them with a dry‚ soft cloth to prevent dirt buildup. Avoid using liquids or harsh chemicals‚ as they may damage the components. Regular cleaning ensures accurate navigation‚ efficient suction‚ and optimal overall functionality. Perform this maintenance every 1-2 weeks or as needed based on usage.
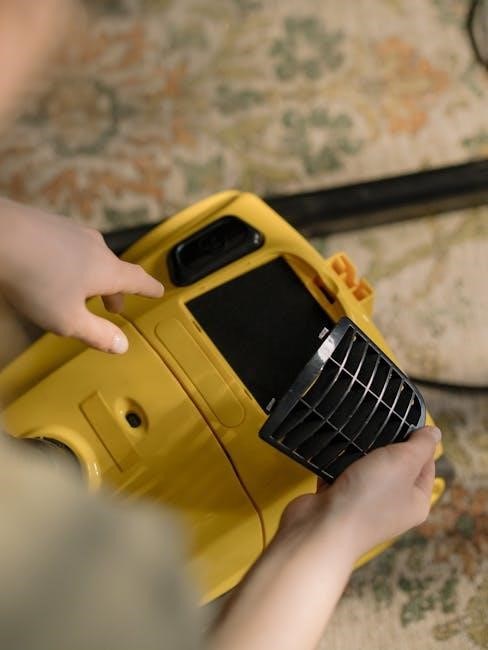
6.3 Emptying and Replacing the Dustbin
To maintain your GooVi Robot Vacuum’s efficiency‚ empty the dustbin after each use. Turn off the device and ensure it is not charging. Locate the dustbin at the top or side‚ depending on your model‚ and press the release buttons to remove it. Carefully pour out the contents into a trash can. For replacement‚ align the dustbin with the compartment and secure it until it clicks. Regularly cleaning the dustbin prevents dust buildup and ensures optimal suction power. If your model includes a washable filter‚ rinse it with water‚ let it dry‚ and reinstall before use.
6.4 Common Issues and Solutions
If your GooVi Robot Vacuum isn’t performing as expected‚ check for common issues. Poor suction may indicate a full dustbin or blocked airways. Clean or replace the filter and ensure the brush is free of debris. If the robot gets stuck‚ inspect for obstacles or tangled hair around the wheels. Charging issues? Ensure the dock is properly connected and the charging pins are clean. For connectivity problems‚ restart the robot and ensure the GooVi App is updated. If mapping errors occur‚ reset the map in the app and allow the robot to remap the space. Visit the support section for further troubleshooting guides.
Advanced Features and Customization
This section explores advanced features like mapping‚ smart home integration‚ and firmware updates‚ allowing you to customize and enhance your GooVi Robot Vacuum experience with tailored settings and optimized performance.
7.1 Mapping and Memory Features
The GooVi Robot Vacuum features advanced mapping and memory capabilities‚ enabling it to navigate and remember your space. Using LiDAR or similar technology‚ it creates detailed floor plans to optimize cleaning routes. The device adapts to multi-room layouts and retains memory of previously cleaned areas‚ ensuring efficient coverage. This feature reduces cleaning time and minimizes missed spots. Additionally‚ the vacuum can resume cleaning from where it left off after charging. Memory retention allows it to recall the most efficient paths‚ providing a seamless and systematic cleaning experience tailored to your home’s unique layout.
7.2 Integrating with Smart Home Systems
The GooVi Robot Vacuum seamlessly integrates with popular smart home systems‚ enhancing convenience and control. Compatible with Amazon Alexa and Google Home‚ you can command the vacuum with voice instructions. Additionally‚ the GooVi App allows integration with other smart devices‚ enabling synchronized operation. For example‚ you can set the vacuum to start cleaning when you leave home or pause it when motion is detected. This feature ensures a hands-free experience and elevates your smart home ecosystem. Compatibility with leading platforms makes it easy to incorporate the GooVi Robot Vacuum into your existing smart home setup for enhanced automation and efficiency.
7.3 Receiving Firmware Updates
Regular firmware updates are crucial for optimizing your GooVi Robot Vacuum’s performance. Updates are automatically prompted through the GooVi App‚ ensuring your device stays up-to-date with the latest features and improvements. When an update is available‚ the app will notify you‚ and you can initiate the process with a single tap. The vacuum will restart during the update‚ indicated by a flashing LED light. Once complete‚ the device will perform a self-test to ensure functionality. Firmware updates are essential for maintaining peak efficiency‚ enhancing navigation‚ and improving cleaning capabilities. Always connect your vacuum to Wi-Fi to receive the latest updates seamlessly.
7.4 Advanced Scheduling Options
The GooVi Robot Vacuum allows you to create customized cleaning schedules tailored to your lifestyle. Using the GooVi App‚ you can set specific cleaning times for different days‚ ensuring your home stays clean consistently. Advanced scheduling options include the ability to designate cleaning areas for particular times‚ repeat sessions‚ and even adjust suction power based on the schedule. Additionally‚ you can sync your vacuum with your smart home calendar to avoid cleaning during events or gatherings. These features offer unparalleled flexibility‚ enabling you to maintain a spotless home with minimal effort and maximum convenience.

Safety Precautions and Warranty Information
This section outlines essential safety guidelines and warranty details for your GooVi Robot Vacuum. It ensures safe operation and provides coverage information for repairs and replacements.
8.1 Safety Guidelines for Use
Ensure safe operation by following these guidelines:
- Avoid exposing the device to water or extreme temperatures.
- Keep children and pets away while the vacuum is in operation.
- Do not use the vacuum near flammable materials or liquids.
- Ensure the charging station is placed on a stable‚ flat surface.
- Avoid obstructing the vacuum’s sensors or brushes during cleaning.
- Turn off the device before cleaning or maintaining it.
Adhering to these guidelines ensures safe and efficient use of your GooVi Robot Vacuum.
8.2 Warranty Terms and Conditions
Your GooVi Robot Vacuum is covered by a limited warranty for a specified period from the date of purchase. This warranty covers defects in materials and workmanship under normal use.
- The warranty does not apply to damage caused by misuse‚ neglect‚ or unauthorized repairs.
- Proof of purchase is required for warranty claims.
- Warranty coverage may vary depending on your region or country.
- Contact customer support for detailed warranty terms and to initiate a claim.
Refer to the warranty card or contact GooVi support for specific details and regional variations.
8.3 Contacting Customer Support
For assistance with your GooVi Robot Vacuum‚ contact our customer support team through the official website‚ email‚ or phone; Visit the GooVi support page for contact details.
- Website: Access the support section at www.goovi.com/support.
- Email: Send inquiries to support@goovi.com.
- Phone: Call the toll-free number listed on the website for immediate assistance.
Support is available 24/7 to address questions‚ troubleshooting‚ and warranty claims. Ensure you have your product serial number ready for faster service.
8.4 Disposal and Recycling Instructions
Proper disposal of your GooVi Robot Vacuum is essential for environmental protection. Recycle the device responsibly by following local e-waste guidelines. Separate the battery and electronic components.
- Remove the battery and recycle it at an authorized facility.
- Contact local recycling centers for e-waste disposal options.
- Ensure all personal data is erased by resetting the device via the GooVi App.
Visit the GooVi website for detailed recycling instructions. Eco-friendly disposal helps conserve resources and reduce environmental impact.